1. Begin by drawing around the hand you wan to knit for ... make sure the thumb is sticking out.
2. Cast on the required number of stitches and divide them 1/2 onto one needle and 1/4 each onto 2 remaining needles (e.g. 14, 7 and 7 for a small child's mitten, 20, 10, 10 for an adult). I always use chunky knit.
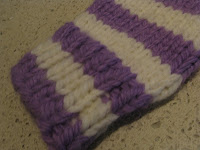
3. Work in rib (k1 p1) until you have the required length of writst.
4. Work in plain knit (varying colours as you wish) until you reach the point where you want to begin the thumb. At the end on needle 3 make 1 stitch. Next row plain knit. Next row add a stitch before and after the final stitch. Next row plain knit.
5. Once you have the required number of stitches to make a thumb slip the newly made stitches onto a retaining needle or spare piece of yarn.
6. Keep working until 5cm from the top of the mitten. Next row knit 1 knit 2 together, and when 3 stitches from the end on the row slip a stitch knit a stitch and slip the unknit stitch back over the knitted stitch and knit the final stitch. Repeat on the remaining needles. Next row plain knit.
7. Repeat the decrease rows until you have approx 5 stitches left. Put these 5 on 2 needles and cast off using
kitchener stitch (grafting).
8. Put the thumb stitches onto 2 needles and work in plain stitch until 2cm from the end of the thumb.
9 decrease towards the end of the thumb by k1 k2tog on a decrease row followed by a row of plain knit. Repeat until 1 stitch is left.


